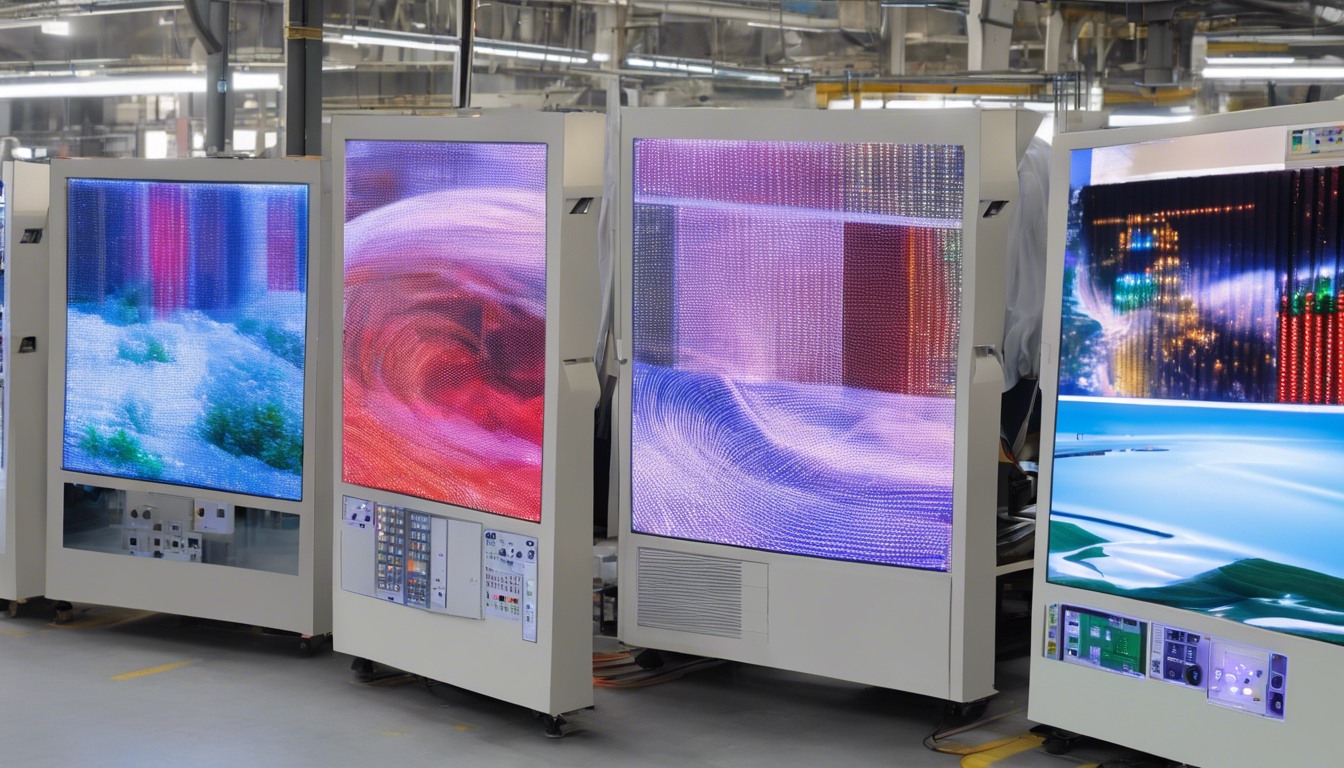
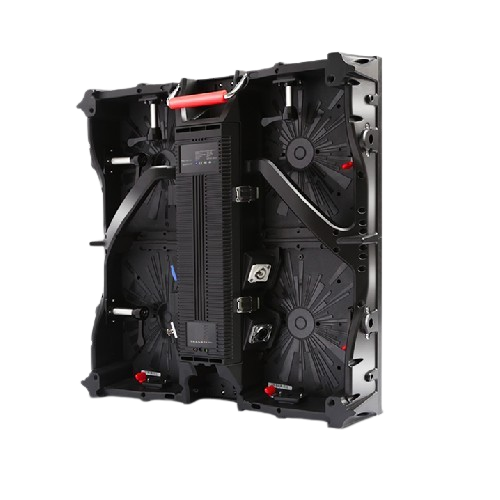
Revolutionizing Visual Displays: The LED Display Board Manufacturing Process
The demand for **LED display boards** has skyrocketed in recent years, thanks to their vivid brightness, energy efficiency, and versatility. From billboards to stadium screens, LED displays dominate numerous sectors. In this comprehensive guide, we will delve into the intricate **LED display board manufacturing process**. This will help you understand how these technological marvels come into being and assure you of their reliability and high performance.
Understanding LED Display Boards
Before diving into the **manufacturing process**, it’s essential to grasp what an **LED display board** is.
What is an LED Display Board?
An **LED display board** is a flat panel display that uses an array of light-emitting diodes (LEDs) as pixels for video display. These LEDs are renowned for their brightness and clarity, making them ideal for indoor and outdoor use.
Applications of LED Display Boards
LED display boards are utilized in various scenarios, including but not limited to:
- Advertising Billboards
- Transportation Signage
- Sports Stadiums
- Retail Displays
- Concert and Event Screens
- Broadcast Studios
Key Components of LED Display Boards
To fully understand the **LED display board manufacturing process**, let’s break down the primary components involved:
LED Modules
The core building block; these modules consist of clusters of LEDs arranged in a matrix.
Power Supply
This component supplies the necessary power to the LEDs.
Controller
This dictates the operation of the display, processing the input and determining how and when each LED should light up.
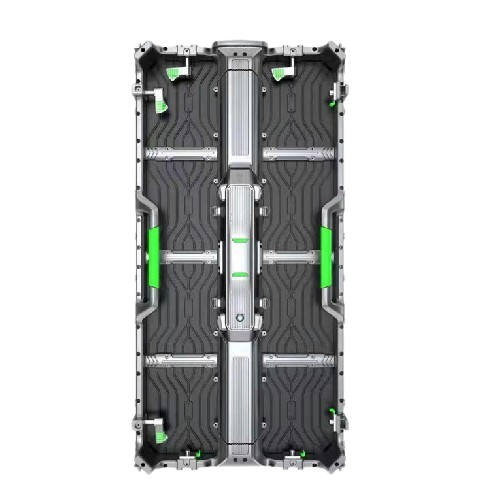
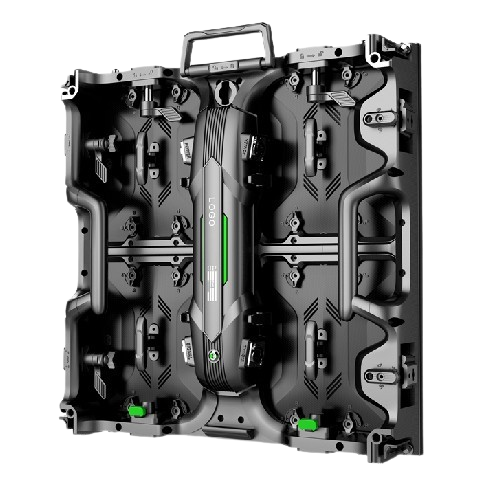
Cabinet
The protective casing that holds all the components together.
The LED Display Board Manufacturing Process
1. Designing the LED Display Board
The manufacturing process begins with meticulous design. Engineers create detailed blueprints that specify the dimensions, layout, and functional requirements of the display board.
Steps:
- Concept Design: Initial sketches and mockups.
- CAD Modeling: Using Computer-Aided Design software to create a detailed 3D model.
- Prototyping: Developing functional prototypes to test design aspects.
2. Sourcing Quality Components
The quality of components is crucial in manufacturing reliable LED display boards. High-quality LEDs, drivers, and controllers are sourced from reputable suppliers.
Key components sourced include:
- LED Chips
- Driver ICs
- PCBs (Printed Circuit Boards)
- Power Supply Units
3. PCB Preparation and Soldering
The PCBs are prepped and ready to be populated with components. The most important part here is the soldering process, which attaches LEDs and other circuitry components onto the PCB.
Steps:
- Stencil Application: Applying solder paste to the PCB using stencils to ensure precision.
- Component Placement: Using Pick-and-Place machines to position LEDs and other components.
- Soldering: Reflow soldering is typically used to bond components to the PCB.
4. Assembly of LED Modules
Multiple PCBs are combined to form larger LED modules. These modules can be linked together to form the complete display board.
Steps:
- PCB Testing: Ensuring the board functions correctly before assembly.
- Panel Formation: Grouping PCBs together into panels.
- Connecting Modules: Linking modules using connectors and wiring.
5. Integration of Control Systems
After the LED modules are assembled, control systems are integrated. This step ensures that the display accurately portrays the desired content.
Steps:
- Controller Installation: Adding the brain of the operation – the controller board.
- Software Configuration: Setting up the software that will manage the display.
- Signal Testing: Verifying that signals are correctly processed and displayed.
6. Encapsulation and Protection
To ensure durability, especially for outdoor displays, the assembled units must be encapsulated with protective coatings.
Methods:
- Encapsulation: Applying a resin or silicone coating to protect against moisture and dust.
- Casing: Enclosing the LED board in a robust cabinet to protect against physical damage.
7. Quality Assurance and Testing
A rigorous quality assurance process ensures that each **LED display board** meets set standards. This involves multiple layers of testing.
Tests:
- Burn-In Test: Running the board for extended periods to detect early failures.
- Waterproof Testing: Essential for outdoor displays to ensure resistance to water ingress.
- Vibration Testing: Ensuring resilience in varying environmental conditions.
- Color Calibration: Fine-tuning the colors displayed for consistency.
8. Packaging and Shipping
Finally, once the LED display board has passed all testing, it is meticulously packaged to prevent damage during transportation.
Steps:
- Protective Wrapping: Using bubble wrap and cushioning materials.
- Custom Crates: Building custom crates for larger displays.
- Shipping: Coordinating with reliable logistics providers.
9. Installation and Calibration
After shipment, the installation phase takes over. During this phase, it’s crucial to mount and calibrate the boards correctly to ensure optimal performance.
Steps:
- Mounting: Securing the display at the desired location.
- Electrical Connections: Establishing power and data connections.
- Calibration: Fine-tuning display settings for the best visual experience.
Conclusion
The **LED display board manufacturing process** is an impressive blend of cutting-edge technology, precision engineering, and meticulous quality control. By understanding each step, from design to installation, you can appreciate the complexity and craftsmanship that go into creating these powerful visual displays.

