Comprehensive Guide to LED Display Module Manufacturing Process
The LED display module manufacturing process is a complex and meticulous procedure that requires precision and expertise. Understanding this process is essential for anyone involved in the electronics or display industries. This article will delve into every aspect of this manufacturing process, providing you with a clear insight into how LED display modules are created, from initial design to final product testing.
Understanding LED Display Modules
What is an LED Display Module?
An LED display module is a component used in various display devices that consist of multiple LEDs (Light Emitting Diodes) arranged in a matrix or grid form. These modules are the building blocks for digital displays, including billboards, traffic signs, and screen displays in various consumer electronics.
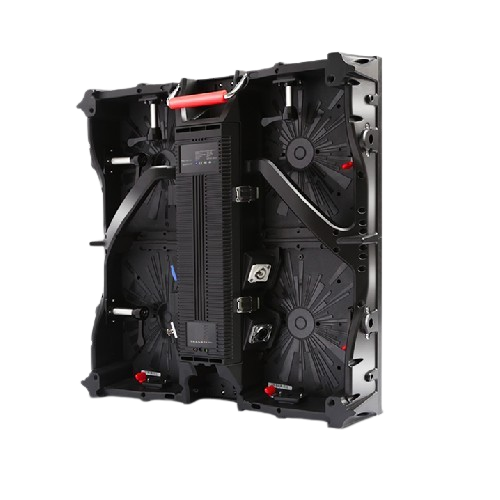
Components of an LED Display Module
LED Chips
PCBs (Printed Circuit Boards)
Resistors
Capacitors
Connectors
Plastic Housing
Control Circuits
The LED Display Module Manufacturing Process
1. Design and Development
The journey of manufacturing an LED display module begins with the design and development phase. Engineers create detailed plans and specifications that outline the module’s structure, including the placement of LEDs, control circuits, and support components.
Key Steps in Design and Development
Conceptualizing the design
Creating circuit diagrams
Choosing appropriate components
Prototyping and testing initial designs
Refining the design based on test results
2. Sourcing Materials
Once the design is finalized, the next stage involves sourcing the necessary materials. These materials include LED chips, PCBs, resistors, capacitors, and various connectors. Sourcing high-quality components is crucial to ensure the reliability and longevity of the LED display modules.
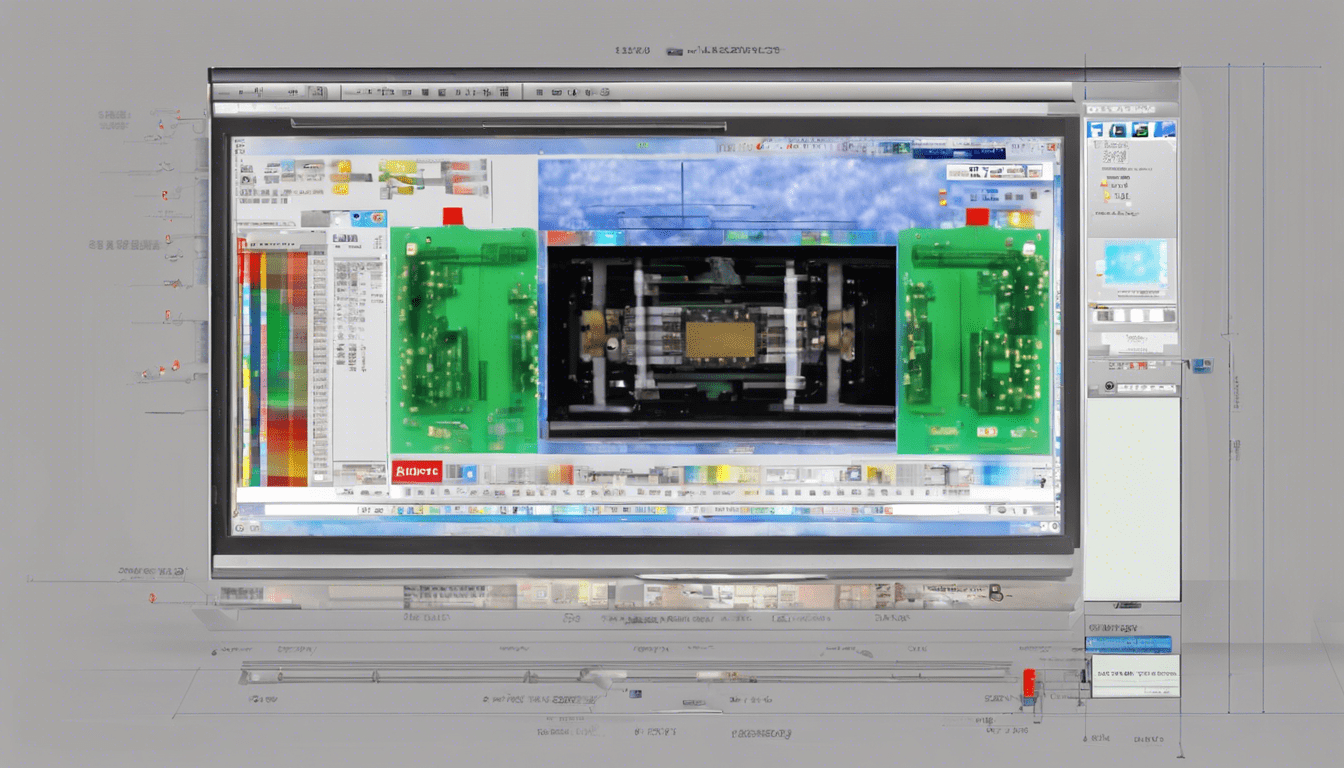
3. PCB Fabrication
The Printed Circuit Board (PCB) is the backbone of the LED display module. The PCB fabrication process involves several steps:
Designing: Using specialized software to design the PCB layout.
Etching: removing unwanted copper from the board to create the circuit.
Drilling: Creating holes for the components.
Plating: Applying a thin layer of metal to the drilled holes.
Solder Mask: Applying a protective layer.
Silkscreen: Printing component labels on the board.
4. Component Placement and Soldering
This step is where the PCB starts coming to life. The components are placed on the board, and they are soldered to secure them firmly and ensure proper electrical connections. There are two primary soldering techniques used:
Through-Hole Soldering: Components are inserted into drilled holes on the PCB and soldered from the opposite side.
Surface-Mount Technology (SMT): Components are placed directly onto the surface of the PCB and soldered using reflow ovens.
5. LED Chip Mounting
The next critical phase is mounting the LED chips onto the module. This involves placing tiny LED chips accurately on the PCB using pick-and-place machines. The positioning is crucial as any misalignment can affect the display quality.
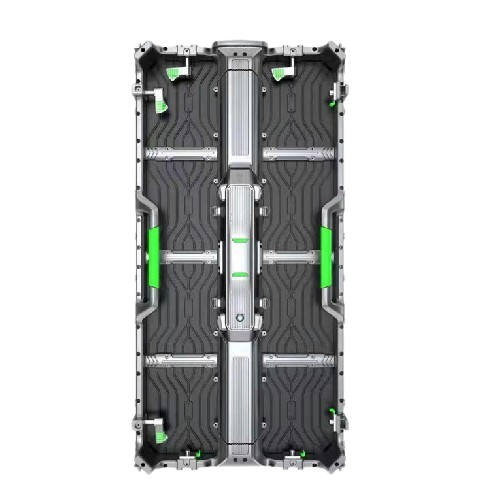
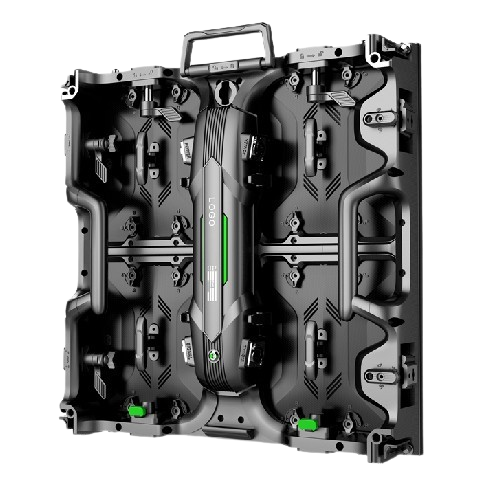
6. Assembly and Encapsulation
After the LED chips and necessary components are mounted on the PCB, the modules are assembled. They are then encapsulated to protect them from environmental factors such as moisture, dust, and physical damage. This step is vital to ensure the durability and longevity of the display modules.
Thorough testing is conducted to ensure each module meets the required standards of quality and performance. Testing involves:
Visual inspection: Checking for any visible defects or misplacements.
Electrical testing: Ensuring all circuits and connections are functioning correctly.
Performance testing: Verifying the brightness, color accuracy, and refresh rates of the LEDs.
8. Software Calibration
Once the hardware is tested, software calibration is necessary to fine-tune the LED display module’s performance. This includes adjustments in brightness, color balance, and synchronizing the modules with the control system.
9. Final Assembly
In the final assembly stage, the LED modules are put together to form the complete display panel. This can involve assembling multiple modules into larger displays depending on the application.
10. Packaging and Shipping
Once the modules are fully assembled and tested, they are carefully packaged to prevent damage during transportation. Proper packaging is essential to maintain the quality and integrity of the LED display modules until they reach the customer.
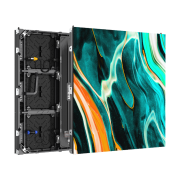
Applications of LED Display Modules
Outdoor Advertising
LED display modules are extensively used in outdoor advertising displays, including billboards and digital signage. Their high brightness and durability make them ideal for outdoor conditions.
Indoor Displays
These modules are also used in indoor settings such as retail stores, airports, stadiums, and event venues. They provide vivid and dynamic displays that capture attention.
Consumer Electronics
LED display modules are integral components in various consumer electronics, including televisions, smartphones, and gaming consoles, providing high-quality visual experiences.
Conclusion
In summary, the LED display module manufacturing process is a detailed and intricate procedure that involves various stages, from design and component sourcing to final assembly and quality testing. Understanding this process offers valuable insights into the technology that powers our everyday digital displays, ensuring their reliability, performance, and longevity.
Custom LED DISPLAYS For Your Industries
We provide custom solutions to all our customers and offer free consulting or samples that you can take advantage of.
We use cookies to ensure that we give you the best experience on our website. If you continue to use this site we will assume that you are happy with it.Accept All CookiesReject AllPrivacy policy